In the first post of this series, we looked at the business value of connecting Business Central to Dataverse using virtual tables. Now it’s time to lift the hood and explore how this works technically and what you need to know before enabling it in a real project.
This post is for Power Platform architects, developers, and admins who want to understand the mechanics of the integration and avoid common pitfalls.
What Actually Happens When You Enable the Integration
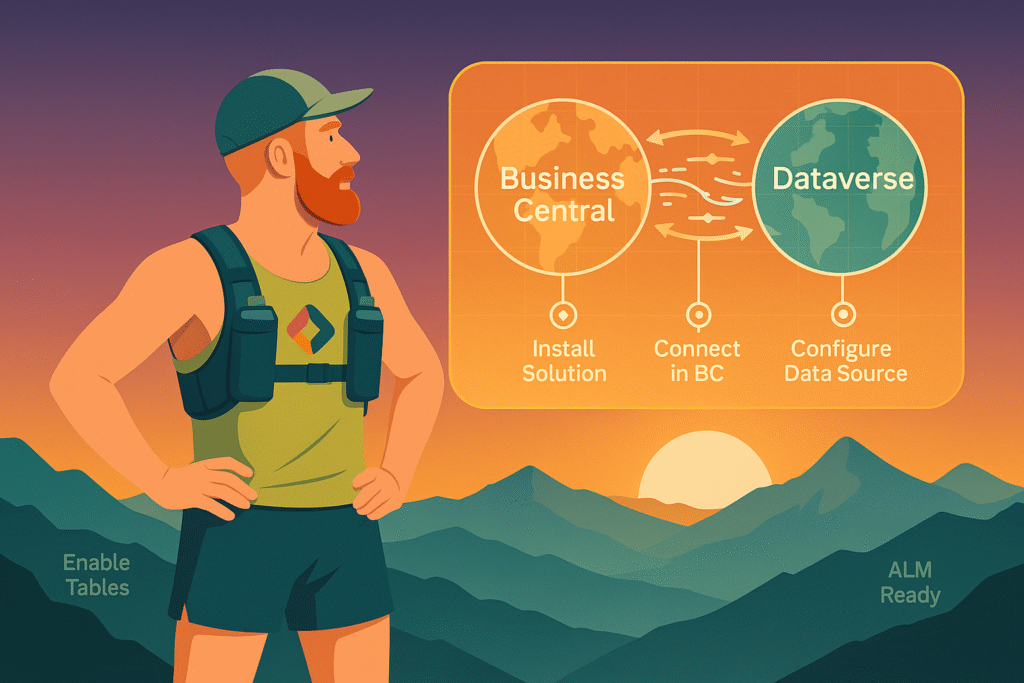
When you enable the Business Central integration from the BC admin center, a few things happen automatically:
- A set of virtual tables is created in Dataverse, representing selected Business Central entities like Customers, Vendors, and Items
- These act as real-time views, meaning data stays in BC but can be queried from Dataverse as if it lived there
- A special connector and virtual table data source is set up to manage the API connection
- You instantly unlock the ability to use BC data in model-driven apps, canvas apps, Power Automate flows, and even Copilot agents
Architecture Overview
Behind the scenes, this integration relies on the OData v4 endpoint in Business Central. Here’s a simplified view of how it works:
- Dataverse uses a virtual connector provider that translates table access into API calls
- Those calls go through the Business Central Web API, using metadata for available entities
- Authentication is handled using an application user in Dataverse, mapped to BC permissions
- Responses are returned in real time and presented as virtual tables inside Dataverse

This setup avoids data duplication while still giving app makers full access to ERP data where it makes sense.
Supported Operations
| Operation | Supported | Notes |
|---|---|---|
| Create | ✅ | Validated by BC business logic |
| Read | ✅ | Live, real-time data |
| Update | ✅ | Fields and validation rules enforced by BC |
| Delete | ✅ | Routed through BC logic |
And yes, you can use Power Automate flows with these tables. You can even run flows on create or update, just like you would with regular Dataverse records.
What’s Different Compared to “Normal” Tables
There are some key differences that are worth keeping in mind:
- You can’t customize the schema. The structure is owned by BC
- Lookups and relationships might behave unexpectedly in canvas apps
- No offline support. These tables only work with an active API connection
- Delegation limits in canvas apps apply more strictly
- Some views in model-driven apps may feel slower, especially on large tables
⚠️ Tip: Always test functionality with real users and realistic data volumes.
Authentication and Security
Access to virtual table data is governed by Business Central, not just Dataverse. Here’s how it works:
- An application user is created in Dataverse as part of the connector setup
- This user operates under delegated access, meaning it reflects the signed-in user’s BC permissions
- If a user doesn’t have access to a record in BC, they won’t see it in Dataverse either
This setup is powerful but it also means you need to manage roles and security across both platforms. Don’t assume that Dataverse security roles are enough.
Known Limitations and Gotchas
This integration is powerful, but it’s not magic. Here are some common issues to be aware of:
- Virtual relationships don’t always behave like standard Dataverse relationships
- Search might not work as expected in model-driven views
- No schema extensions. You can’t add custom columns to these tables in Dataverse
- Performance depends on BC, not Dataverse indexing
- Offline scenarios aren’t supported
Virtual Tables and ALM: Things Just Got Better
It used to be common advice that Business Central virtual tables did not work well with ALM. That made sense a while ago, since many virtual connectors had real limitations. But the story has changed.
When you enable Business Central integration in an environment, Dataverse creates the virtual tables inside a managed solution called MicrosoftBusinessCentralERPVE. From there, you can use Add existing > Table > Virtual tables to reference them in your own solutions.
That means you can move apps, flows, and model-driven components between environments even if they depend on BC virtual tables.
Here’s how it works in practice:
- In your Dev environment, enable the BC integration and select the tables you want
- In your custom solution, use “Add existing” to bring in the virtual tables you’re using
- When you export your solution, it automatically includes references to the BC virtual tables
- When you import it into Test or Prod, Dataverse checks if the referenced tables are available in that environment
- If they are, they’ll be added to the local instance of the managed ERPVE solution
- If not, import will fail, so make sure the same BC connection and permissions are available
Just be aware that connection references and data sources need to exist in the target environment before you import. If you’re using pipelines, make sure these are deployed as part of an earlier stage or in a separate supporting solution.
Recommendations from the Field
Here’s what I’ve learned from real projects:
- Use this integration for real-time scenarios like referencing customer info or item stock in apps
- Don’t overdo it. Large joins and aggregations across virtual tables can become slow fast
- Combine with custom Dataverse tables when you need to stage or enrich data
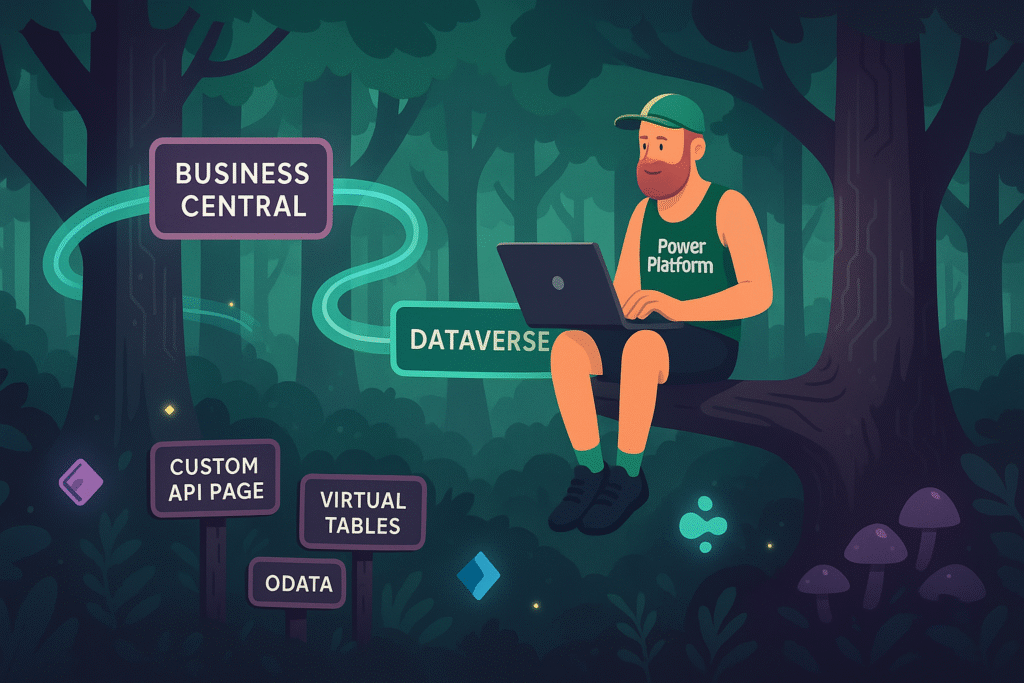
- Use a custom API page in Business Central instead of standard API:s to expose your data
Custom API Page
If you want to expose custom fields from Business Central in Dataverse, you need to create a custom API page in AL. This is a special page object of type API that defines exactly which fields are exposed through the OData endpoint.
You can use this to:
- Include custom fields
- Rename fields to be more user-friendly
- Filter records
- Control the shape and security of your data
Once deployed and published to Web Services, you can configure a custom virtual table in Dataverse to point to this API. It gives you full control and avoids many of the limitations tied to standard virtual tables.
What’s Next
In the final post of this series, I’ll walk through how to set it all up. I’ll include screenshots, gotchas, and deployment tips. We’ll also look at how to manage the setup in a pipeline using service principals and solution layers.